SETI: Installing an optimised application (modem users: contains 31 images)
The following FAQ was written by Richard Haselgrove and Mark Sattler. They also provided all the screen shots. If you think it's too much for one FAQ, blame them. Both can be found on the Seti forums. :-)
Warning: if you're using a modem, there are a total of 31 pictures to load. Luckily none are too big, but if it causes problems let me know.
Installing an optimised application on the SETI@home project
These notes are written for users of a standard (32-bit) version of Windows XP, running the recommended (5.10.45) version of BOINC
I) Stage 1: Work out what your computer can do.
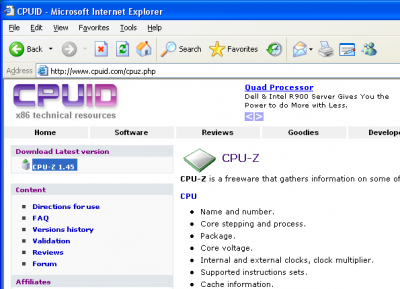
1.1 Find the CPU-Z website.
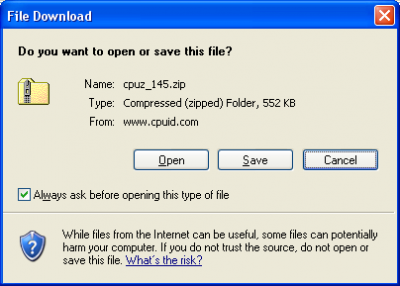
1.2 Download the latest version of CPU-Z.
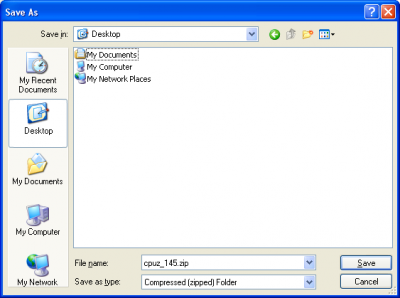
1.3 Save it to the desktop.
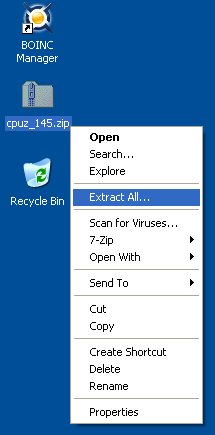
1.4 Right_click, and choose 'Extract All...'.
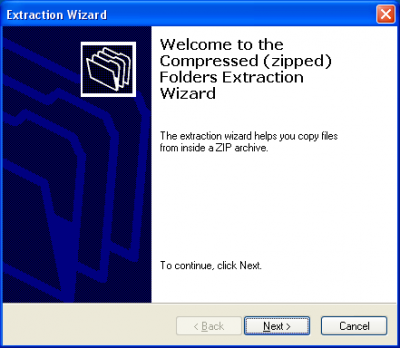
1.5 The Compressed Folders Extraction Wizard starts. Click 'Next >'.
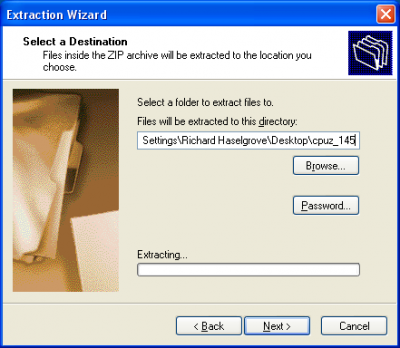
1.6 It will offer to extract the files to your desktop. That's fine. Click 'Next >' again.
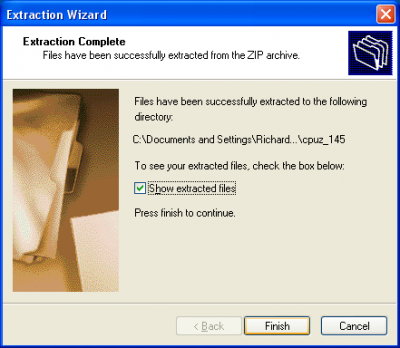
1.7 Tick the box to 'Show extracted files'. Click 'Finish'.
1.8 Double-click the CPU-Z Application icon to run the program.
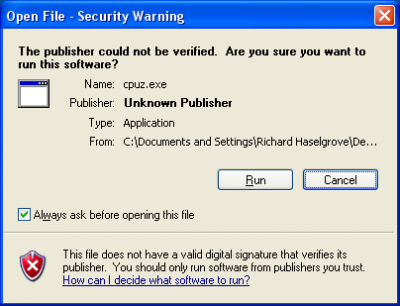
1.9 You may get a security warning. That's fine too. Click 'Run'.
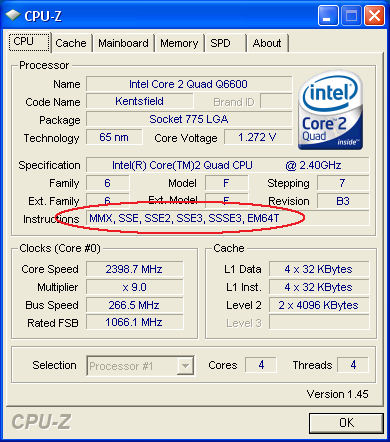
1.10 Look to see what instructions your CPU can use. Make a note of the right-most entry in the group that covers MMX and SSE. In this case, it's SSSE3, so we'll use that.
Close everything down, ready for...
II) Stage 2: Find and download an optimised application.
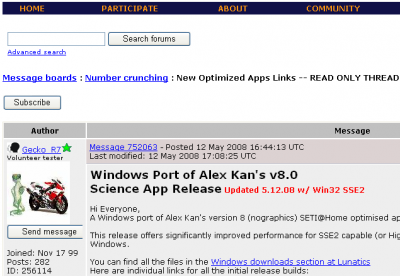
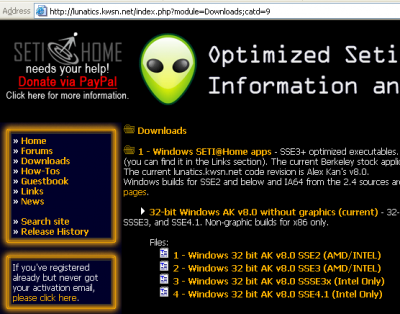
2.1 Visit either the thread on the SETI Message Boards, or the KWSN/Lunatics site.
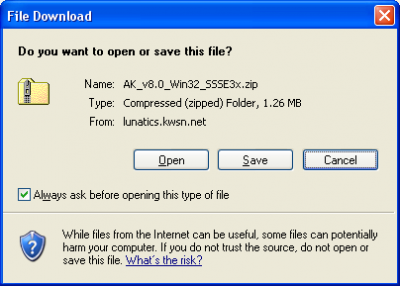
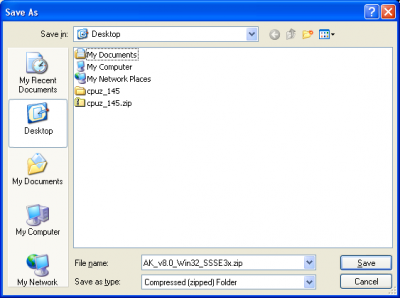
2.2 Find the application that best matches the information you noted down from CPU-Z. I chose SSSE3 - YOUR CHOICE MAY BE DIFFERENT. USE THE INFORMATION FROM YOUR OWN COMPUTER. Click on the download link, and choose 'Save'.
2.3 Save it to the desktop again...
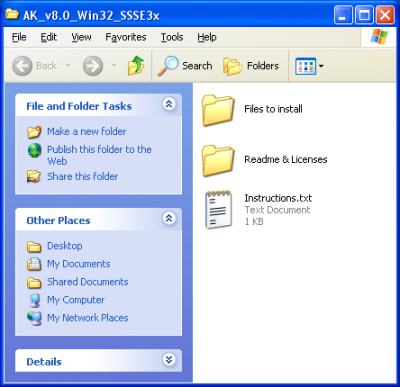
2.4 Right_click, and choose 'Extract All...'.
2.5 You should see some instructions. Read them anyway, but they should match the rest of this FAQ.
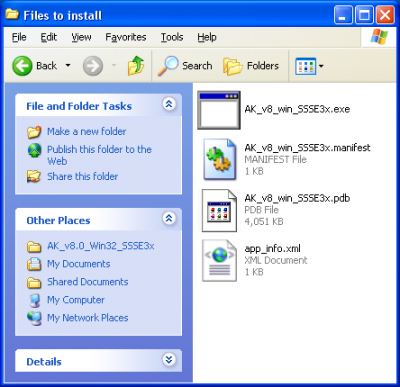
2.6 Double-click on 'Files to install'.
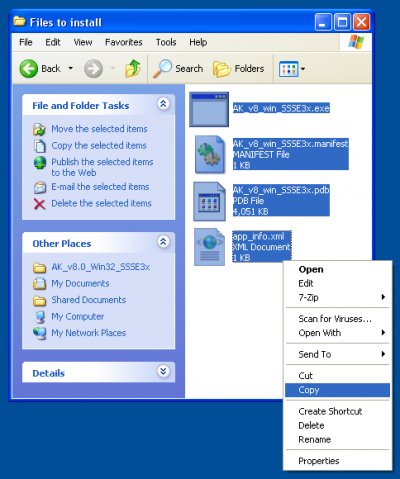
2.7 Select all four files: right_click, and choose 'Copy'.
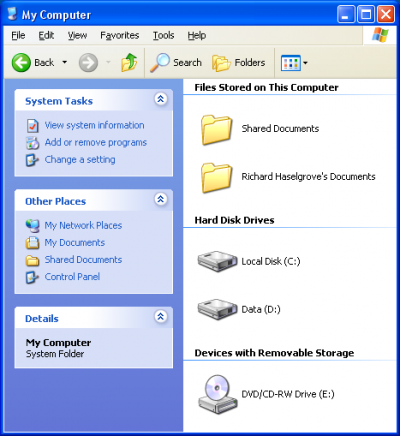
2.8 Click on 'My Computer', to get an overview of your system.
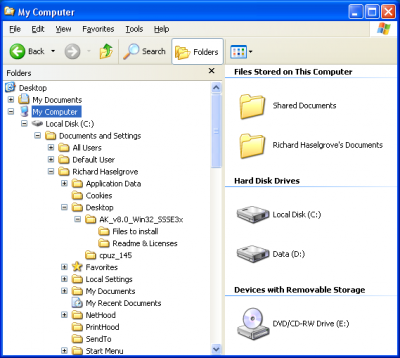
2.9 The next stage is easier if you click on the 'Folders' button at the top of the screen.
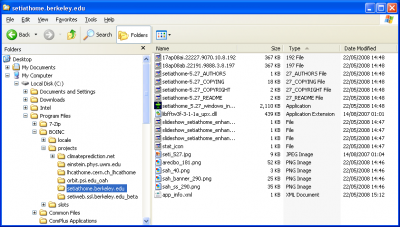
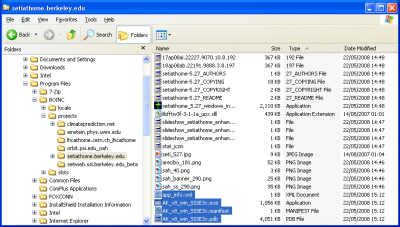
2.10 You need to find the SETI project folder. This is the standard place for BOINC version 5, but your installation may vary (*). Check that the filenames you can see look something like this.
(*) When you're using a BOINC 6.2 version or above, the default Data directory can be found at:
- Windows 98/SE/ME: C:\Windows\All Users\BOINC\ or C:\Windows\Profiles\All Users\BOINC\
- Windows 2000/XP: C:\Documents and Settings\All Users\Application Data\BOINC\
- Windows Vista: C:\ProgramData\BOINC\
The directory can be hidden on Windows 2000, XP and Vista, so make sure you are allowed to view hidden files and folders in your Windows Explorer.
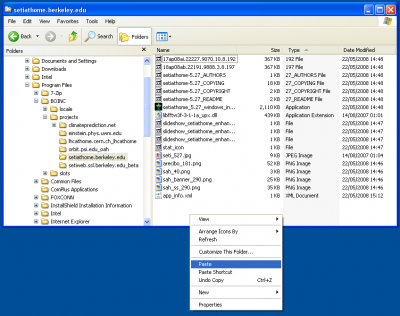
2.11 Right-click anywhere in the folder, and choose 'Paste'.
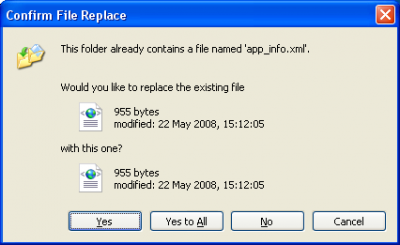
2.12 If you're already using an earlier optimised application, you may get a warning about overwriting a file: this won't happen for first-time optimisers. Click 'Yes' if you see this.
2.13 The files you last saw in 'Files to install' appear in the folder.
Close everything down, ready for...
III) Stage 3: Activating and testing your new optimised application.
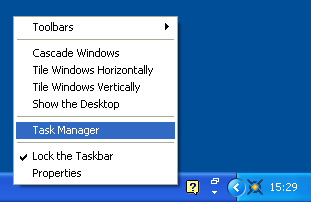
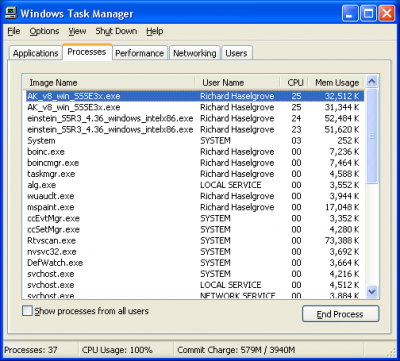
3.1 Right-click on the task bar at the bottom of the screen, and choose 'Task Manager'.
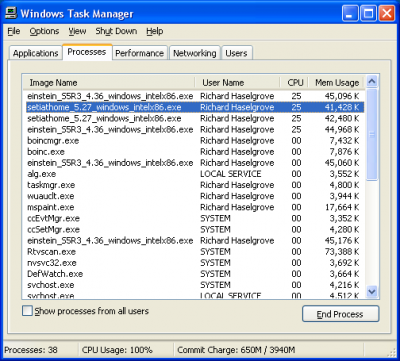
3.2 Click on the 'Processes' tab, and on the header for the 'CPU' column. Note that two copies of the standard Berkeley application are running (yes, they've been running all through the previous 24 stages!).
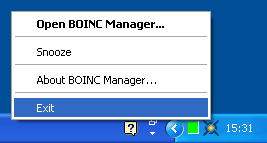
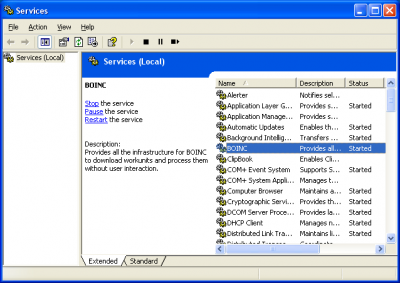
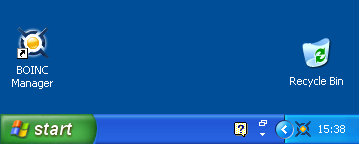
3.3 EITHER: Exit BOINC, and restart it OR Open the service control panel and restart BOINC from here: this depends on your installation type.
3.4 And there you have it: you are now running an optimised SETI application.
3.18 All that is left to do is to clean the temporary files off your desktop.
| Original writer | Original FAQ | Date |
|---|---|---|
| Richard Haselgrove & Mark Sattler | 358 | 27-05-2008 |
